Motherboard Diagnosis: Gaming PC Motherboard Troubleshooting
Your gaming rig is your pride and joy, the portal to countless adventures and victories. But what happens when it suddenly refuses to power on? Or worse, starts exhibiting bizarre behavior? A faulty motherboard could be the culprit, and diagnosing it can feel like navigating a minefield. Don't despair! This guide will equip you with the knowledge to troubleshoot your gaming PC's motherboard like a pro.
The frustration of a malfunctioning gaming PC is real. Imagine being in the middle of a crucial raid, only to have your system crash unexpectedly. Or spending hours fine-tuning settings, only to be met with a black screen on startup. These kinds of issues can quickly turn your gaming haven into a source of immense irritation.
This article aims to provide you with a comprehensive guide to diagnosing motherboard issues in your gaming PC. We'll cover common symptoms, troubleshooting techniques, and essential tools, empowering you to identify and potentially resolve the problem yourself, saving you time and money.
In this article, we'll explore common motherboard symptoms, such as the computer failing to power on, experiencing random crashes, or displaying unusual error messages. We'll delve into troubleshooting techniques like visual inspection, testing individual components, and using diagnostic tools. We'll also discuss factors like BIOS issues, component compatibility, and the importance of proper grounding. By understanding these elements, you can effectively diagnose and address motherboard problems in your gaming PC, ensuring a smoother and more reliable gaming experience.
Visual Inspection: Your First Line of Defense
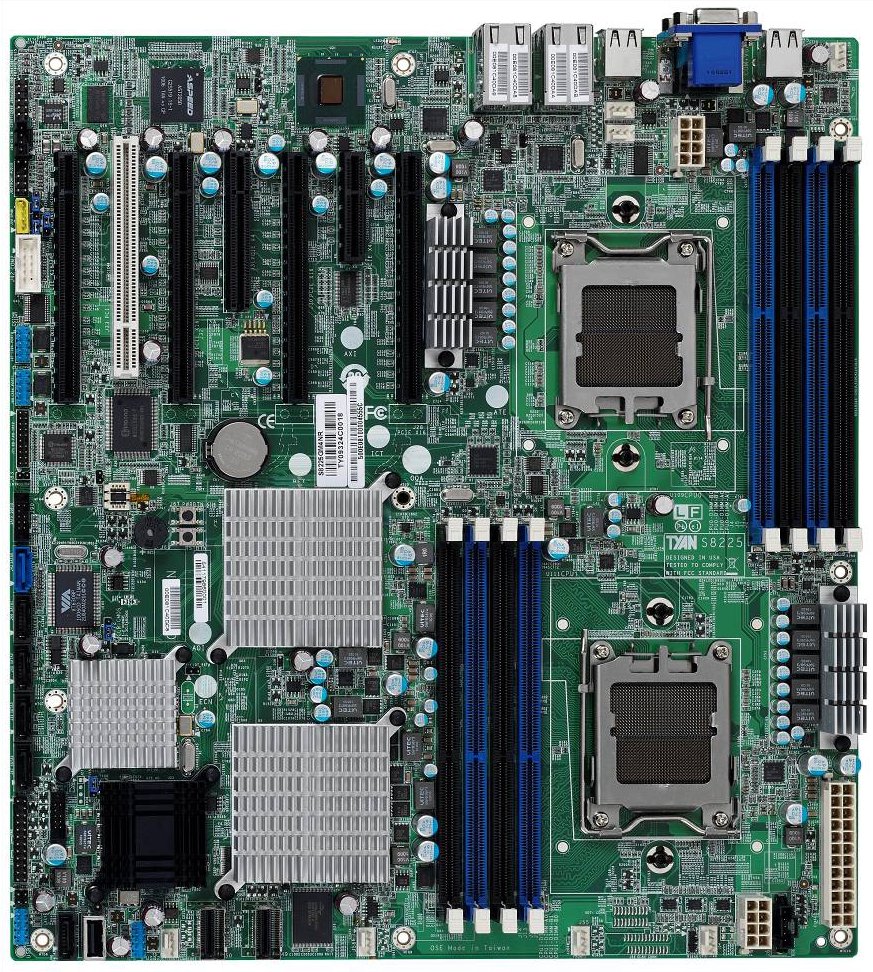
Visual inspection is often the easiest and most effective initial step in motherboard diagnosis. Personally, I once spent hours troubleshooting a seemingly dead PC, only to discover a bulging capacitor on the motherboard. It was a tiny, almost insignificant detail, but it was the root cause of all my woes. From then on, visual inspection became my go-to starting point. Look for any signs of physical damage: burnt components, bulging or leaking capacitors, cracked solder joints, or any debris that might be causing a short circuit. Pay close attention to the areas around the CPU socket, RAM slots, and power connectors. Use a flashlight to illuminate hard-to-see areas. Even something as simple as a loose screw can cause problems. A visual inspection allows you to identify potential hardware failures before you even think about software diagnostics. It is also useful to unplug and re-plug any power connectors. Make sure the power supply cables are securely connected to the motherboard and other components, this will ensure a stable power flow. Finally, ensure that the CPU cooler is properly mounted and making good contact with the CPU. Overheating can lead to system instability and can potentially damage the motherboard over time. By performing these inspections, you can ensure that your gaming PC is receiving power and prevent any short circuits.
Decoding Beep Codes: The Motherboard's SOS
Beep codes are a series of short beeps emitted by the motherboard during the POST (Power-On Self-Test) process. These beeps are the motherboard's way of communicating diagnostic information, especially when the system can't display anything on the screen. Different beep code patterns indicate different types of errors, such as problems with the CPU, RAM, or graphics card. The specific beep code meanings vary depending on the motherboard manufacturer and BIOS version. Consult your motherboard's manual to understand the beep codes and their corresponding error messages. For instance, a single long beep followed by two short beeps might indicate a graphics card problem. No beeps at all could signify a power supply issue or a completely dead motherboard. Decoding beep codes can provide valuable insights into the nature of the problem and guide you towards the faulty component. It helps narrow down the possibilities and avoid unnecessary troubleshooting steps. However, the absence of beep codes does not always mean the motherboard is faulty. If there are no beeps and you have checked all the connections, you may need to replace the motherboard.
The Myth of "Motherboard Death": Separating Fact from Fiction
There's a common misconception that motherboards are delicate and prone to sudden, inexplicable failures, often referred to as "motherboard death." While it's true that motherboards can fail, they are generally quite robust components, and many "motherboard death" scenarios are actually caused by other factors. Overheating, power surges, physical damage, and component incompatibility are all common culprits that can lead to motherboard issues. Sometimes, a seemingly dead motherboard is simply suffering from a corrupted BIOS or a faulty CMOS battery. Replacing the CMOS battery can solve the problem and revive the motherboard. Another myth is that all motherboard failures are catastrophic and irreparable. In some cases, minor issues like a malfunctioning USB port or a faulty audio jack can be isolated and addressed without replacing the entire motherboard. Understanding the common causes of motherboard problems and separating fact from fiction can help you approach troubleshooting with a more informed and effective strategy. It's important to remember that proper maintenance, such as keeping the system clean and ensuring adequate cooling, can significantly extend the lifespan of your motherboard and prevent premature failures. It is also important to avoid upgrading to a motherboard that is only compatible with the new processor, especially if you are using an older processor.
The Hidden Secret: The Power Supply's Role
One often overlooked aspect of motherboard diagnosis is the power supply unit (PSU). The PSU is responsible for providing stable and clean power to all components of your gaming PC, including the motherboard. An inadequate or failing PSU can cause a wide range of problems that mimic motherboard issues, such as random crashes, system instability, and failure to power on. If the PSU is not delivering enough power, the motherboard will not function properly. This may cause random shutdowns, freezes, or even permanent damage to the components. It is important to verify the power supply is sufficient for your components. A high quality PSU can prevent damage to components, so it is important to choose one that is reliable. Before assuming that the motherboard is faulty, it's crucial to test the PSU. You can use a PSU tester to check the voltage levels and ensure that it's delivering the correct amount of power to the motherboard. Alternatively, you can try swapping the PSU with a known good unit to see if the problem persists. If replacing the PSU resolves the issue, then the original PSU was the culprit. The hidden secret is that a seemingly dead motherboard might just be a symptom of a faulty PSU, and addressing the PSU issue can often bring your gaming PC back to life.
Recommendation: Investing in Quality Components
Choosing the Right Motherboard: A Foundation for Stability
When building or upgrading your gaming PC, investing in quality components, especially the motherboard and PSU, is paramount. A high-quality motherboard offers better stability, durability, and features compared to cheaper alternatives. It also typically provides better support for overclocking and advanced features. Researching different motherboard models and reading reviews can help you make an informed decision. Look for motherboards with robust power delivery systems, ample cooling solutions, and a good reputation for reliability. A high-quality PSU is equally important, as it provides clean and stable power to all components. Choose a PSU with enough wattage to handle your system's power requirements, and opt for a reputable brand with a good track record for reliability and efficiency. Skimping on the motherboard or PSU can lead to a cascade of problems down the line, including system instability, component failures, and reduced performance. Investing in quality components upfront can save you time, money, and frustration in the long run. It's a small price to pay for a smoother, more reliable, and more enjoyable gaming experience. Choose a motherboard with enough expansion slots, as this will allow you to add additional components in the future, such as a sound card or a capture card. Finally, choose a motherboard that supports the latest standards, such as PCIe 4.0 or PCIe
5.0, as this will future-proof your system and allow you to take advantage of the latest technologies.
Advanced Troubleshooting: BIOS Updates and CMOS Reset
Sometimes, motherboard issues can be resolved by updating the BIOS or resetting the CMOS. The BIOS (Basic Input/Output System) is firmware that controls the fundamental operations of the motherboard. A corrupted or outdated BIOS can cause various problems, including boot failures, hardware incompatibility, and system instability. Updating the BIOS to the latest version can often fix these issues. However, the BIOS update process can be risky, and a failed update can render the motherboard unusable. Always follow the manufacturer's instructions carefully and ensure that you have a stable power supply during the update. The CMOS (Complementary Metal-Oxide-Semiconductor) is a small memory chip that stores the BIOS settings and system time. Resetting the CMOS can restore the BIOS to its default settings, which can resolve problems caused by incorrect or corrupted BIOS configurations. To reset the CMOS, you can either remove the CMOS battery for a few minutes or use the CMOS reset jumper on the motherboard. Refer to your motherboard's manual for the location of the CMOS reset jumper. Advanced troubleshooting techniques like BIOS updates and CMOS resets can be effective in resolving certain motherboard issues, but they should be approached with caution and careful attention to detail. If you are not comfortable performing these procedures yourself, seek assistance from a qualified technician. Always check your motherboard to ensure you do not update the wrong BIOS version. Double check to make sure that the files you are installing is the correct file.
Checking for Short Circuits: Preventing Further Damage
When diagnosing motherboard issues, it's crucial to check for short circuits. A short circuit occurs when there is an unintended electrical connection between two points in a circuit, causing a surge of current that can damage components. Short circuits can be caused by various factors, such as loose screws, stray wires, or physical damage to the motherboard. If you suspect a short circuit, carefully inspect the motherboard for any signs of physical damage or debris. Use a multimeter to check for continuity between different points on the motherboard. A short circuit will typically show a very low resistance reading. If you find a short circuit, try to isolate the cause and remove the obstruction. In some cases, the short circuit might be caused by a faulty component, which will need to be replaced. Ignoring short circuits can lead to further damage to the motherboard and other components, so it's important to address them promptly and effectively. Checking for short circuits is an essential step in motherboard diagnosis and can help prevent costly repairs or replacements. Always remember to disconnect the power supply before inspecting the motherboard for short circuits.
Fun Facts: Motherboard Evolution and Quirks
Did you know that the first PC motherboards were quite different from the sophisticated components we see today? They were much larger, simpler, and lacked many of the features we take for granted. Over the years, motherboards have evolved dramatically, incorporating new technologies, increasing in complexity, and shrinking in size. One interesting quirk is that different motherboard manufacturers often use different color schemes and design elements, making each brand instantly recognizable. Another fun fact is that some high-end motherboards come with built-in diagnostic tools, such as LED displays that show error codes or voltage readings. These tools can be invaluable for troubleshooting motherboard issues. Motherboards also have a long history of being upgraded to accommodate new technologies. As technology increases, it is often fun to see where motherboards begin. The history and evolution of motherboards reflect the rapid pace of technological advancement in the PC industry. Learning about the history and quirks of motherboards can provide a deeper appreciation for these essential components and the ingenuity of the engineers who design them. One final fun fact is that the term "motherboard" is said to have originated from the idea that it is the central component to which all other components are connected, like a mother to her children.
How to Replace a Motherboard: A Step-by-Step Guide
Replacing a motherboard can seem like a daunting task, but it's a manageable process if you follow a step-by-step guide. First, gather all the necessary tools, including a screwdriver, anti-static wrist strap, and thermal paste. Before you begin, take photos of all the connections to the old motherboard, as this will help you reconnect everything correctly later. Start by disconnecting all cables and removing all expansion cards from the old motherboard. Then, carefully unscrew the motherboard from the case and lift it out. Place the new motherboard in the case and align it with the standoffs. Screw the motherboard into the case, ensuring that it's securely mounted. Next, reconnect all the cables and install the expansion cards. Apply thermal paste to the CPU and install the CPU cooler. Finally, connect the power supply and test the system. If everything works correctly, you've successfully replaced the motherboard. If not, double-check all the connections and consult the motherboard's manual for troubleshooting tips. Replacing a motherboard requires patience and attention to detail, but it's a rewarding experience that can save you money and extend the life of your gaming PC. Make sure the power supply is turned off before you begin. You should also double check the pin connectors to ensure they are correctly connected.
What if the Motherboard is Unrepairable?
Sometimes, despite your best efforts, a motherboard might be beyond repair. In such cases, the only option is to replace it. However, before you rush out to buy a new motherboard, consider a few factors. First, determine if the motherboard is still under warranty. If so, you might be able to get a replacement for free. Second, consider the cost of a new motherboard versus the cost of building a new PC. In some cases, it might be more economical to build a new PC, especially if your other components are also outdated. If you decide to replace the motherboard, make sure to choose one that is compatible with your CPU, RAM, and other components. Also, consider the features and functionality that you need. Do you need support for overclocking? Do you need multiple PCI-e slots? Do you need built-in Wi-Fi? Choosing the right motherboard is essential for ensuring a smooth and enjoyable gaming experience. If your motherboard is unrepairable, don't despair. Replacing it can be a chance to upgrade your system and improve its performance. Do your research and choose a motherboard that meets your needs and budget. If the motherboard is still under warranty, you may be able to get a replacement for free. Check the manufacturer's website for more information.
Top 5 Symptoms of a Failing Gaming PC Motherboard
Here's a listicle highlighting the most common symptoms of a failing gaming PC motherboard:
- No Power: The PC refuses to turn on at all. No lights, no fans, nothing.
- Random Crashes: The system crashes unexpectedly, often without warning. This can happen during gaming, browsing, or even when the PC is idle.
- Blue Screen of Death (BSOD): The PC displays a blue screen with an error message, indicating a critical system failure.
- Boot Issues: The PC fails to boot properly, getting stuck at the BIOS screen or displaying an error message.
- Peripheral Problems: USB ports, audio jacks, or other peripherals stop working or function erratically.
These are some of the most common symptoms of a failing gaming PC motherboard. If you experience any of these issues, it's important to troubleshoot your system and determine if the motherboard is the culprit. Ignoring these symptoms can lead to further damage and potential data loss.
Question and Answer: Motherboard Diagnosis FAQ
Here are some frequently asked questions about motherboard diagnosis:
Q: My computer won't turn on at all. Is it definitely the motherboard?
A: Not necessarily. The problem could also be with the power supply, CPU, or RAM. Try testing these components first before assuming the motherboard is the issue.
Q: How can I tell if a capacitor is bad?
A: Bad capacitors often bulge or leak electrolyte. Visually inspect the motherboard for these signs of damage.
Q: Can I repair a damaged motherboard myself?
A: Minor repairs like replacing a CMOS battery are possible, but more complex repairs require specialized equipment and expertise. It's generally best to seek professional help for significant damage.
Q: What is the best way to prevent motherboard failures?
A: Ensure adequate cooling, protect your PC from power surges, and avoid overclocking beyond the motherboard's capabilities.
Conclusion of Motherboard Diagnosis: Gaming PC Motherboard Troubleshooting
Diagnosing motherboard issues in your gaming PC can seem daunting, but with the right knowledge and tools, you can effectively troubleshoot and potentially resolve the problem yourself. Remember to start with a visual inspection, decode beep codes, test individual components, and consider factors like BIOS updates and CMOS resets. By following the steps outlined in this guide, you'll be well-equipped to tackle motherboard troubleshooting and keep your gaming rig running smoothly. And if all else fails, don't hesitate to seek professional help.
Post a Comment